Amp Product Design
Creating Amp: Part 2 of 3
Overview
Although the title includes "Product Design" in it, I wouldn't consider myself a Product Designer. I worked closely with Product Designers Harrison Bowden and Patrick Wong to create the Pairing, Walkthrough and Installation flows, but there is a great deal of animation work I owned. At this point in the development cycle, the Lyft app didn't have control over Amp, so I had to trigger every Amp animation manually during user testing sessions. The final animations that helped Drivers acclimate to an Amp went through many review cycles, and required me to repeatedly optimize files smaller. Below I describe the product animations I created that ended up in the Lyft App.

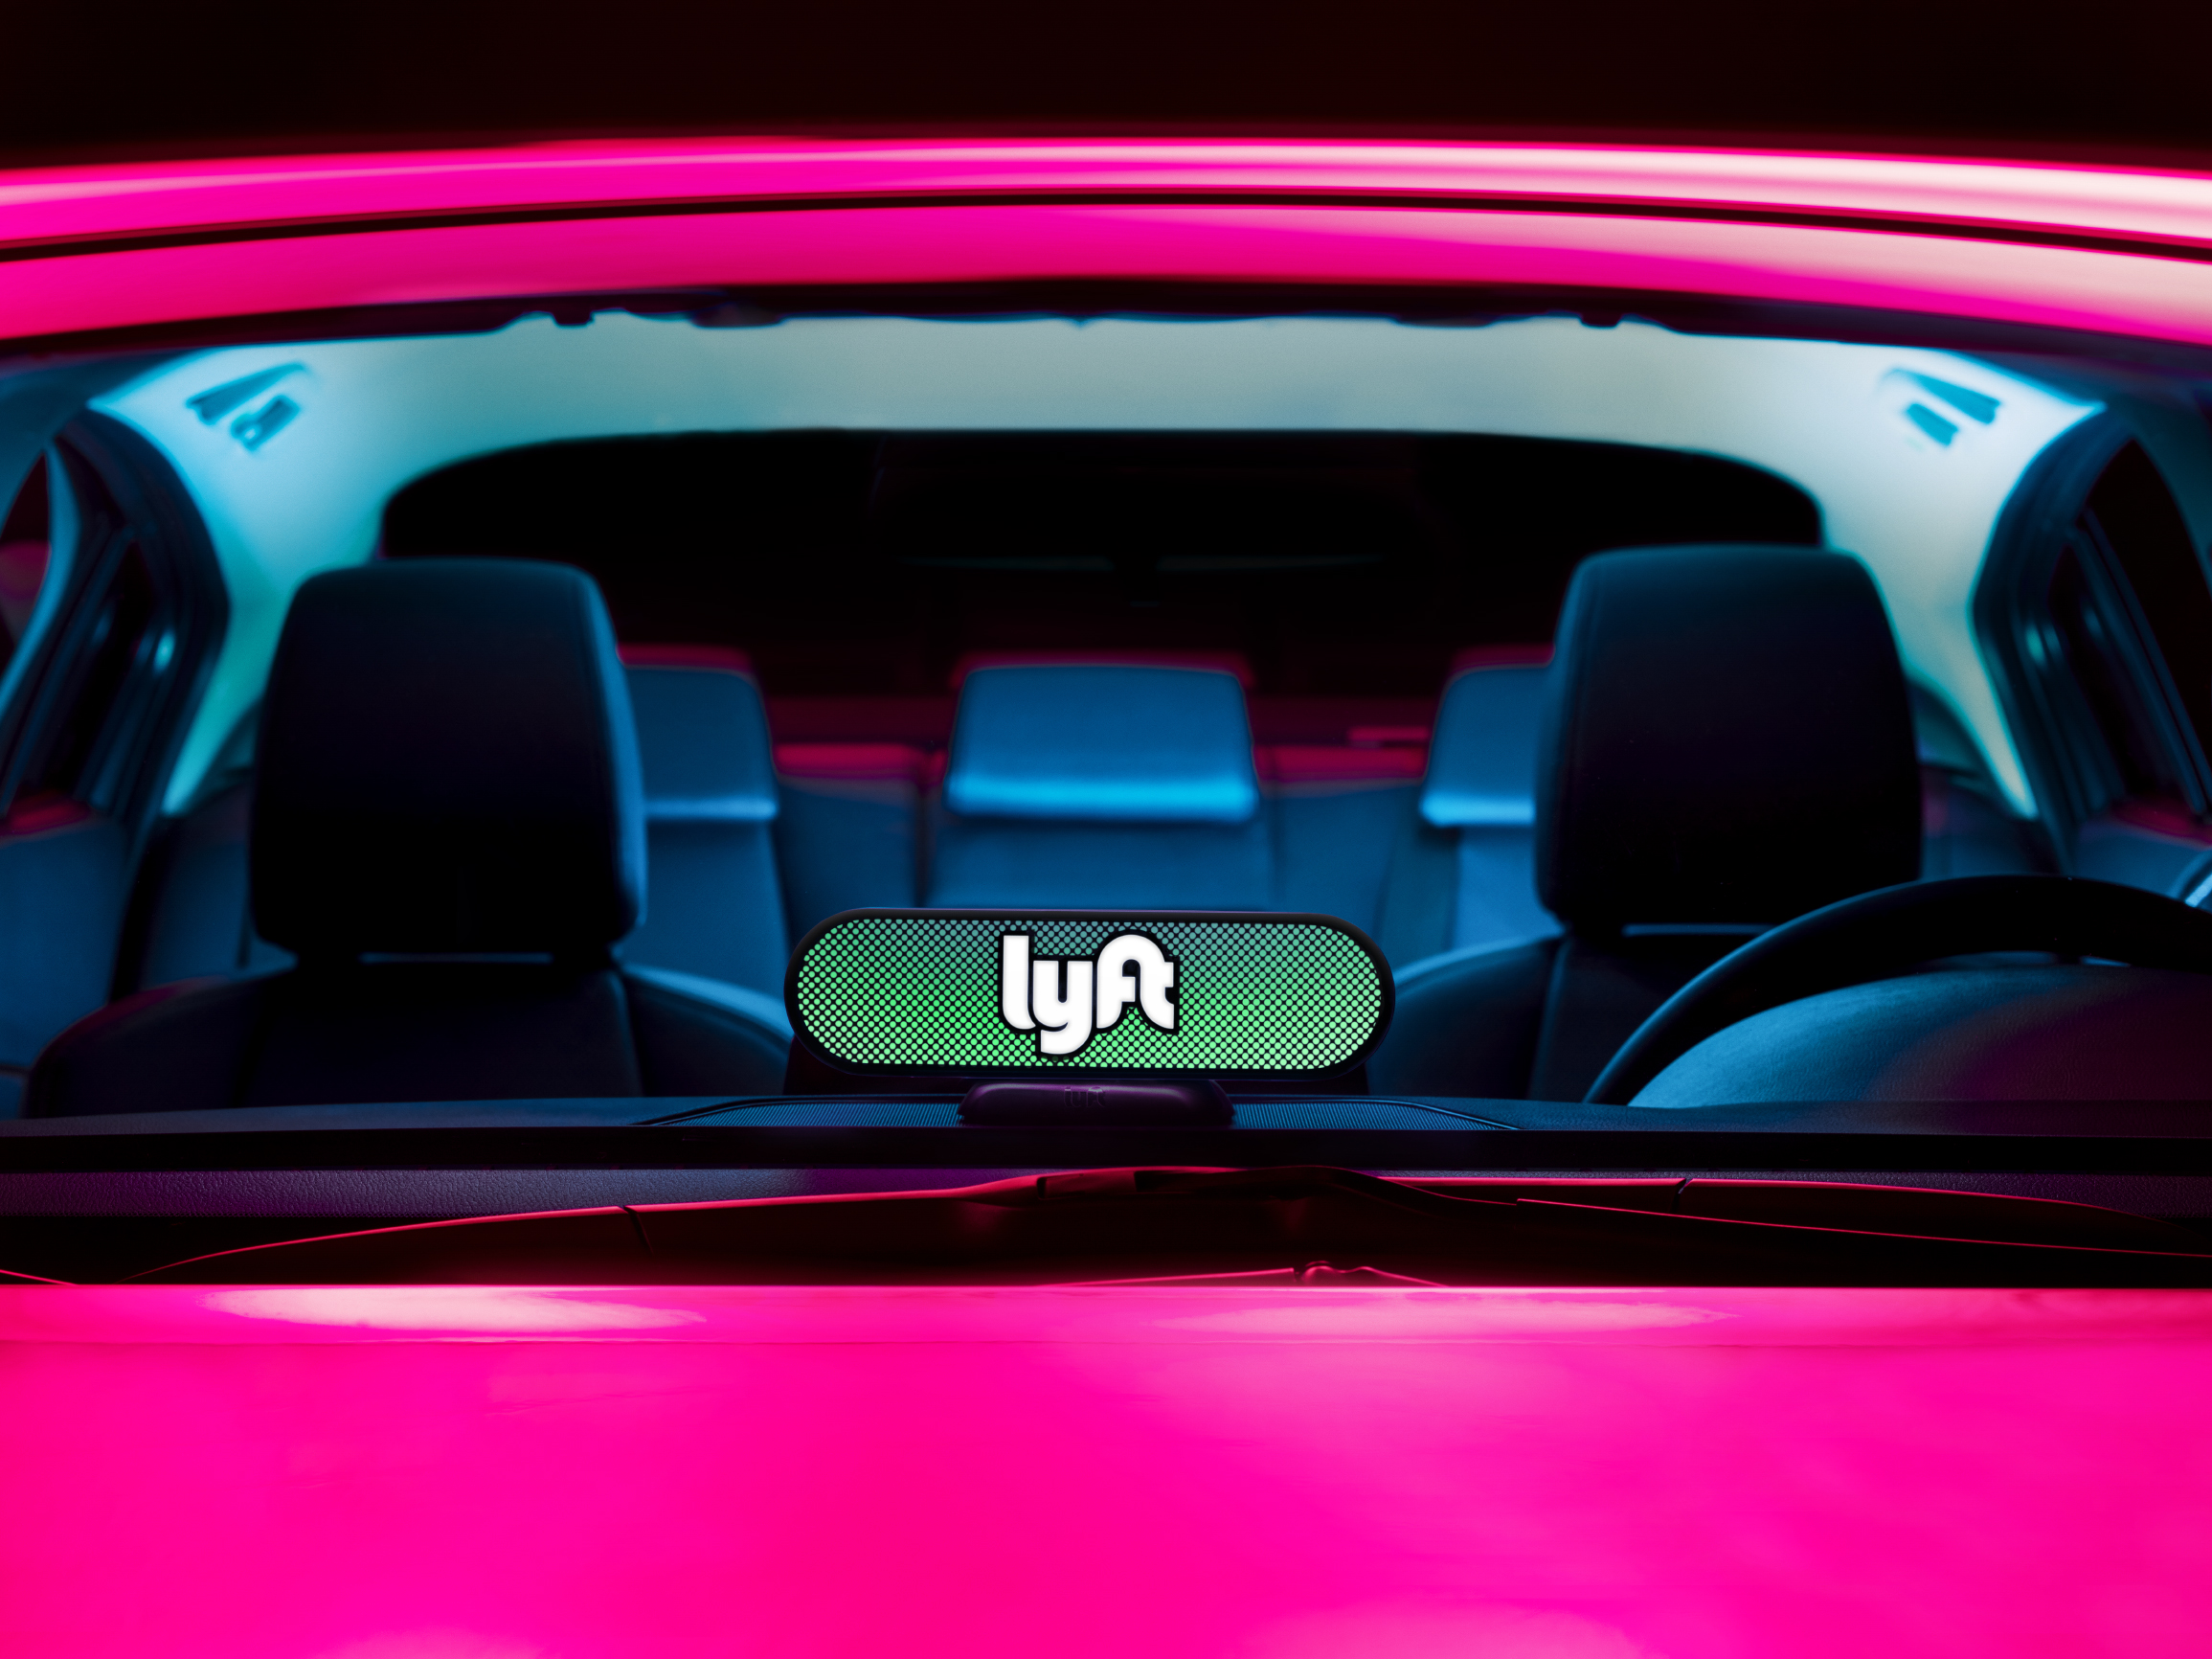
Photo by Kai Regan
Pairing
When a driver receives an Amp in the mail, we found numerous points at which they need guidance. The printed materials provided with Amp helped guide drivers to turn on bluetooth and open the Lyft app. When a driver completes all the required steps, they are asked to "pair" their Amp. This animation demonstrates how I created an ambient loop that ended in a burst of light — exactly in time with the Amp.
The actual files for the Lyft app needed to be layered, optimized, cross-platform, and not in a video format. I created the animation in After Effects and exported specific keyframes as images. I then recreated the animation with only images and transparency changes. The information I gathered from building this directly informed the engineering on this product flow. I was able to keep my images smaller and scale them up programmatically in the App — hiding all enlargement issues behind a dotted screen.
Walkthrough
When a driver has paired their Amp, the first thing many drivers wonder is how an Amp actually functions and what it will look like in use. I worked with Harrison & Patrick to design a basic walkthrough to set expectations and get drivers interested. The car was rendered in Cinema 4D and the Amp was added in After Effects. Each section needed to be loopable, so that drivers could read the text on screen without the video jumping around.
Installation
After a driver was shown what to expect from Amp, we asked them to go out to their car and install it. This process was important because it was very easy to install the base of the Amp in the wrong direction. We solved this by adding a sticker to the base and telling drivers at multiple points to have the logos face the same direction. This video installation guide would only progress to the next step after the driver tapped the button. As with the last video, no buttons or text is shown, to keep focus on the animation.
Creating Amp Series
This project is part 2 of 3 in a series.
Be sure to check out the other two parts.
Amp Animations
Creating Amp: Part 1

Amp Launch
Creating Amp: Part 3